Replacing LiteTouch: What to Prepare Before You Get a Quote
Looking to replace your LiteTouch system? See our LiteTouch Replacement Guide for a complete overview of the upgrade process, costs, and what to expect, or run the numbers yourself with our LiteTouch replacement cost calculator.
If you’re researching a LiteTouch replacement, you already know the basics: Savant discontinued the LiteTouch product line in 2015, replacement parts have effectively dried up, and the installers who once serviced these systems have largely moved on to other platforms. What most homeowners don’t know is how much control they have over the accuracy of their replacement quote — and it comes down almost entirely to what they bring to the first conversation.
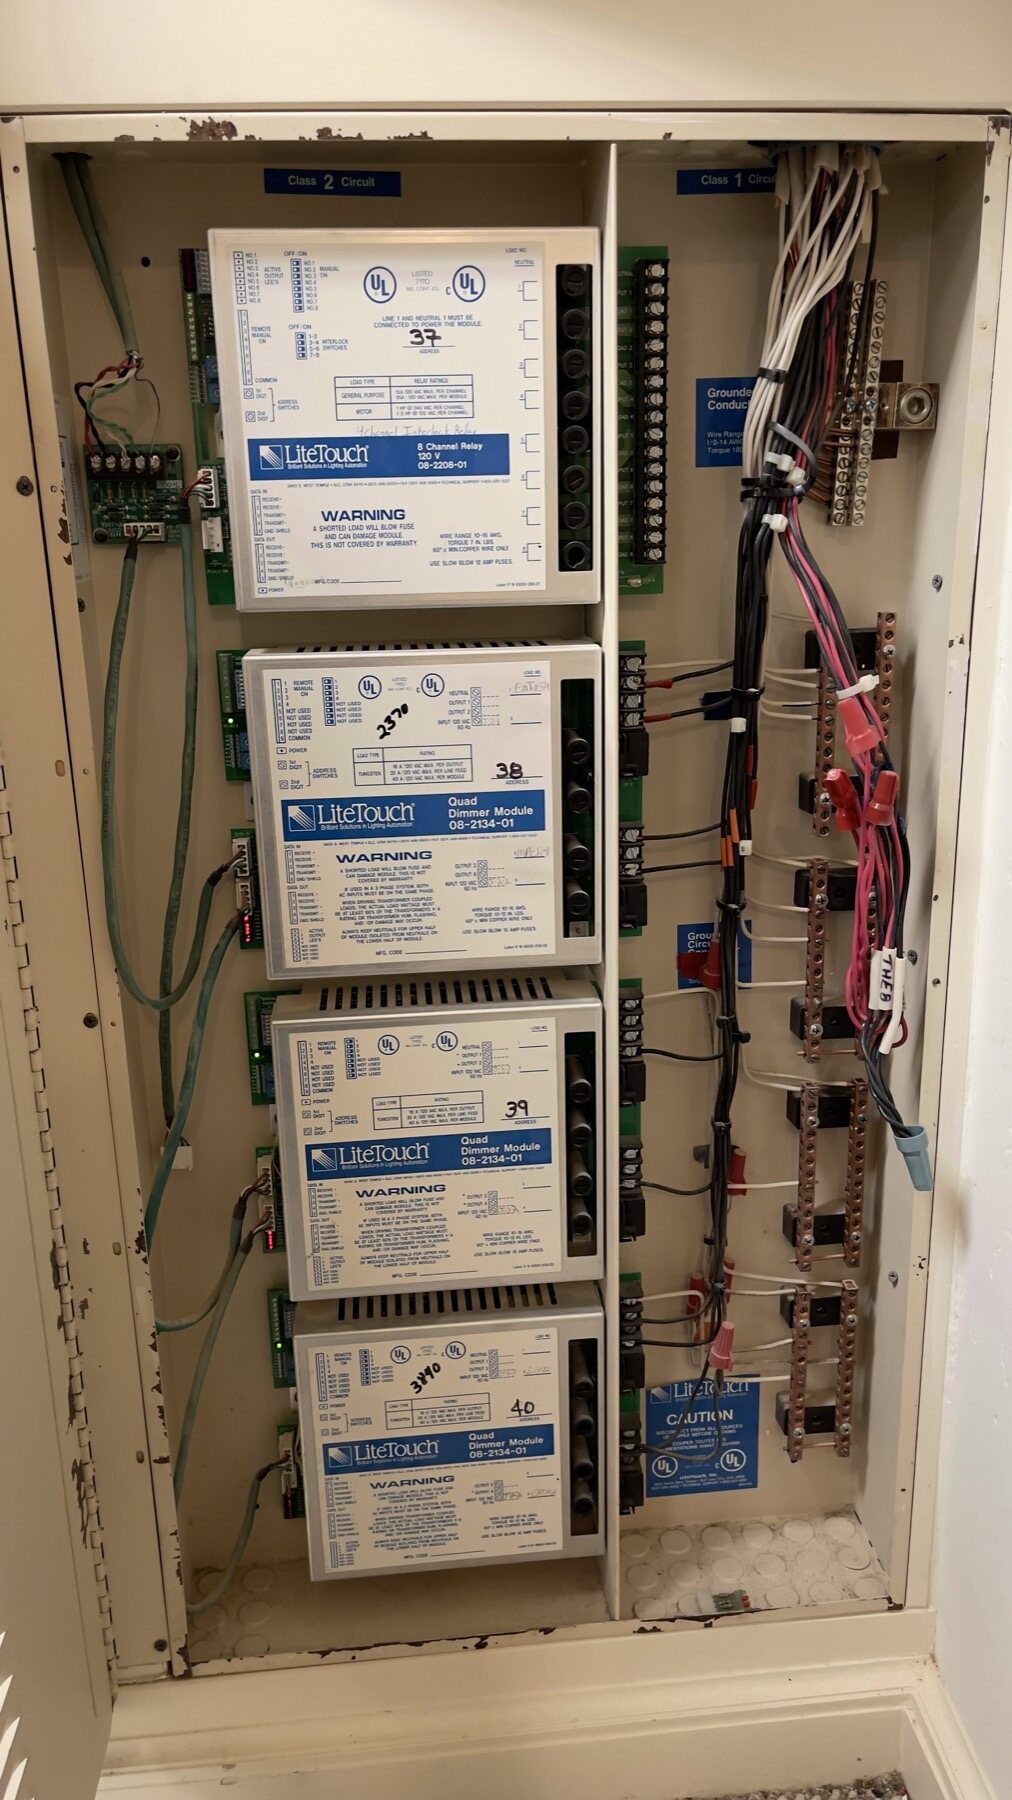
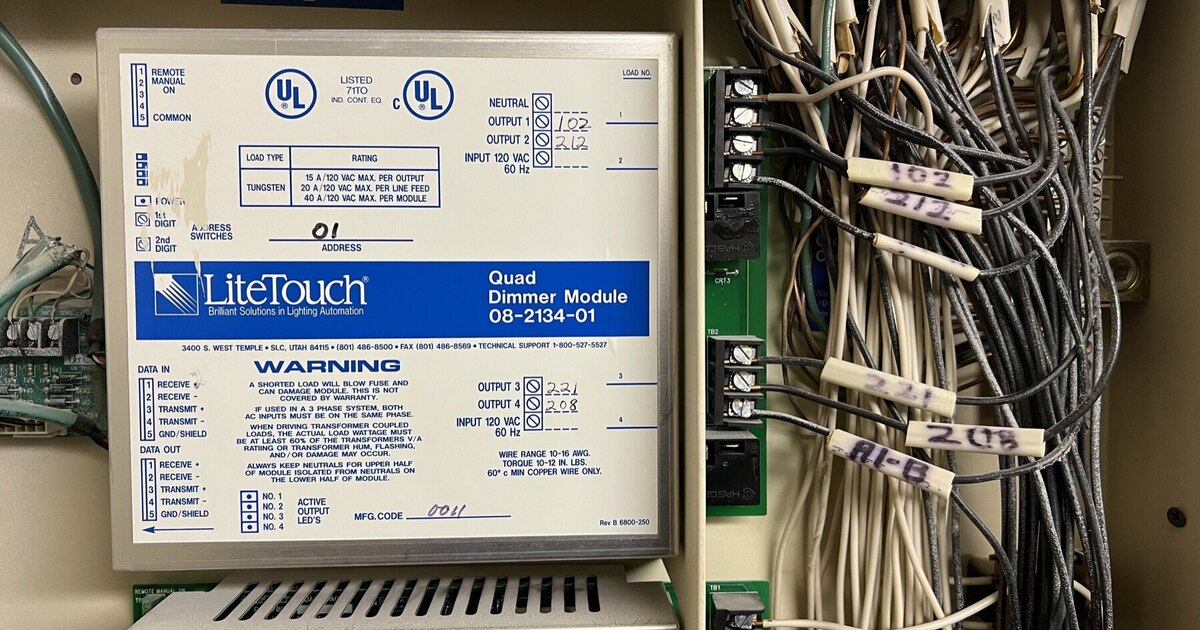
This is what a good starting point looks like: every module marked with its address and connected load. If your panel looks like this, most of the survey work is already done for you.
This isn’t a sales pitch for any particular replacement platform. It’s a preparation checklist — the same one we hand to homeowners before their first LiteTouch assessment, regardless of who ends up doing the work. Show up with these four things and you’ll get a tighter, faster, more defensible quote. Show up without them, and the first visit becomes a discovery process instead of a proposal meeting. (If you’re dealing with an active fault right now rather than planning ahead, our troubleshooting guide is the more useful starting point — this checklist assumes the system is still working and you’re getting ahead of the inevitable.)
1. Find the Enclosure Schedule, If It Exists
Every LiteTouch installation was built around one or more central enclosures — metal panels, typically mounted in a utility room, garage, or basement, that house the dimming modules, relay modules, and motor modules controlling your lighting and motorized loads. When the system was installed, a competent installer usually documented what went into each enclosure: module types, module positions, which circuit each module output feeds, and the connected load (in watts or amps) for that circuit.
This document is sometimes called an enclosure schedule, a panel schedule, or simply “the LiteTouch printout.” If your home changed hands since the system was installed, it may be buried in a folder of closing documents, an inspection report, or a builder’s handoff binder. It’s worth ten minutes of searching before you assume it doesn’t exist.
If you find it: bring it, even if it’s handwritten or partially out of date. It gives an installer a starting map of your system instead of a blank slate.
If you don’t find it: don’t worry. Most homeowners we work with don’t have one. It just means the next three items matter more.
2. Photograph the Open Panels
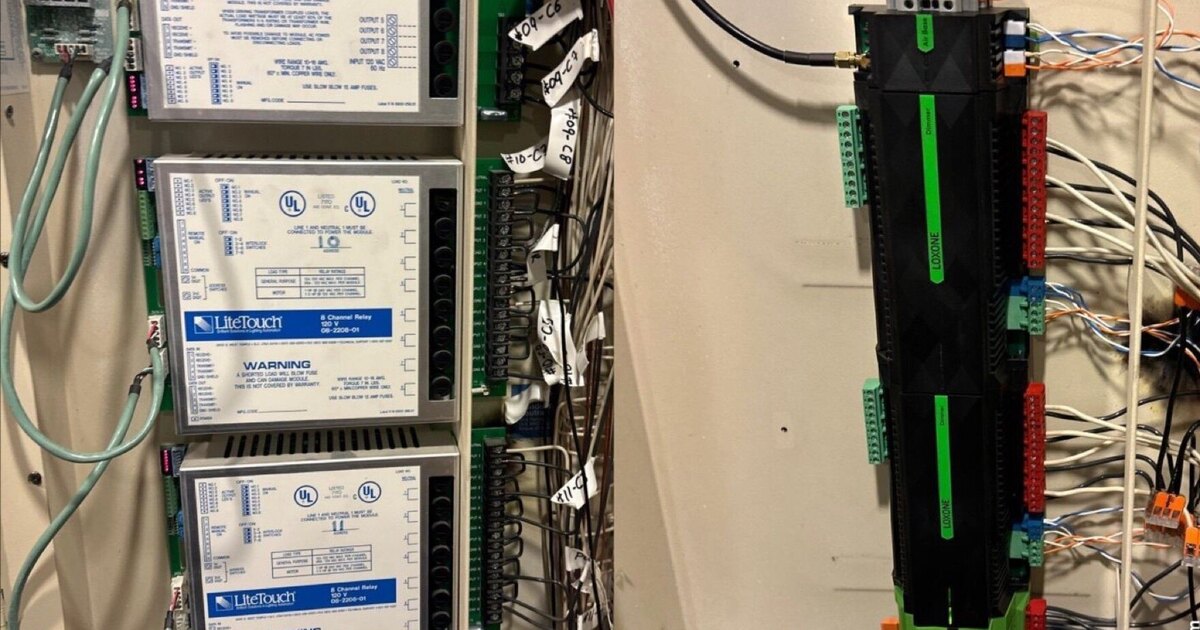
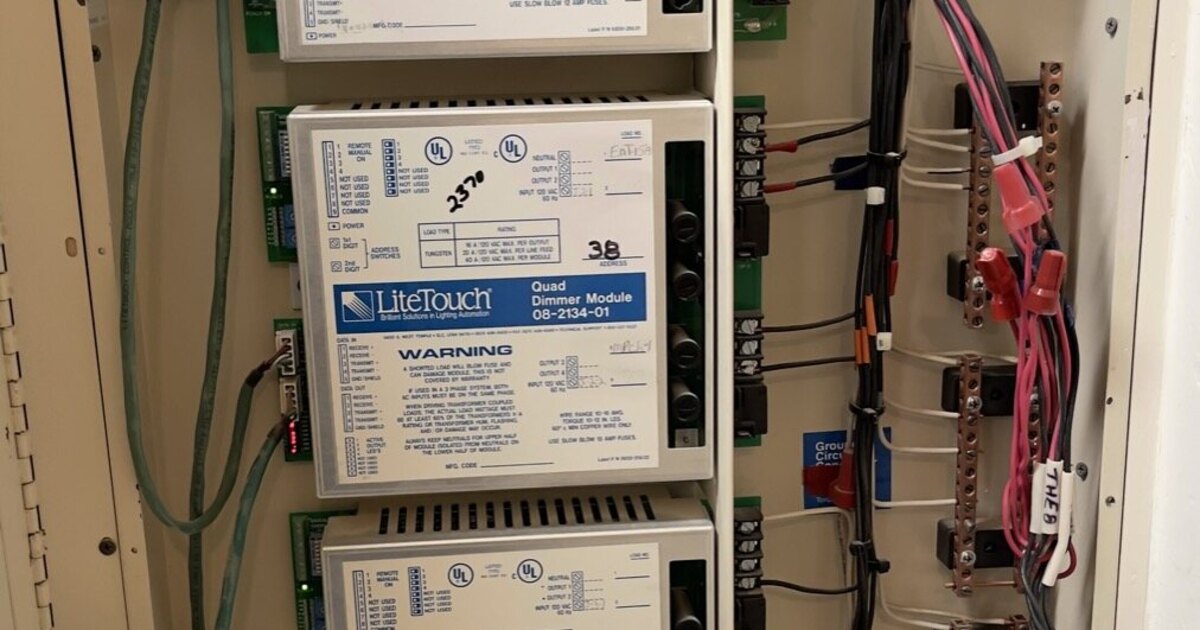
If you can safely remove the cover of your LiteTouch enclosure — without touching any terminals or exposed wiring — take wide, well-lit photos of the inside. Specifically:
- The full module rack, so an installer can identify which module types are present and how many of each
- Close-ups of the terminal blocks where field wiring lands on each module, showing wire labels if any exist
- The overall wiring layout inside the enclosure, including any handwritten labels on the panel door or nearby wall
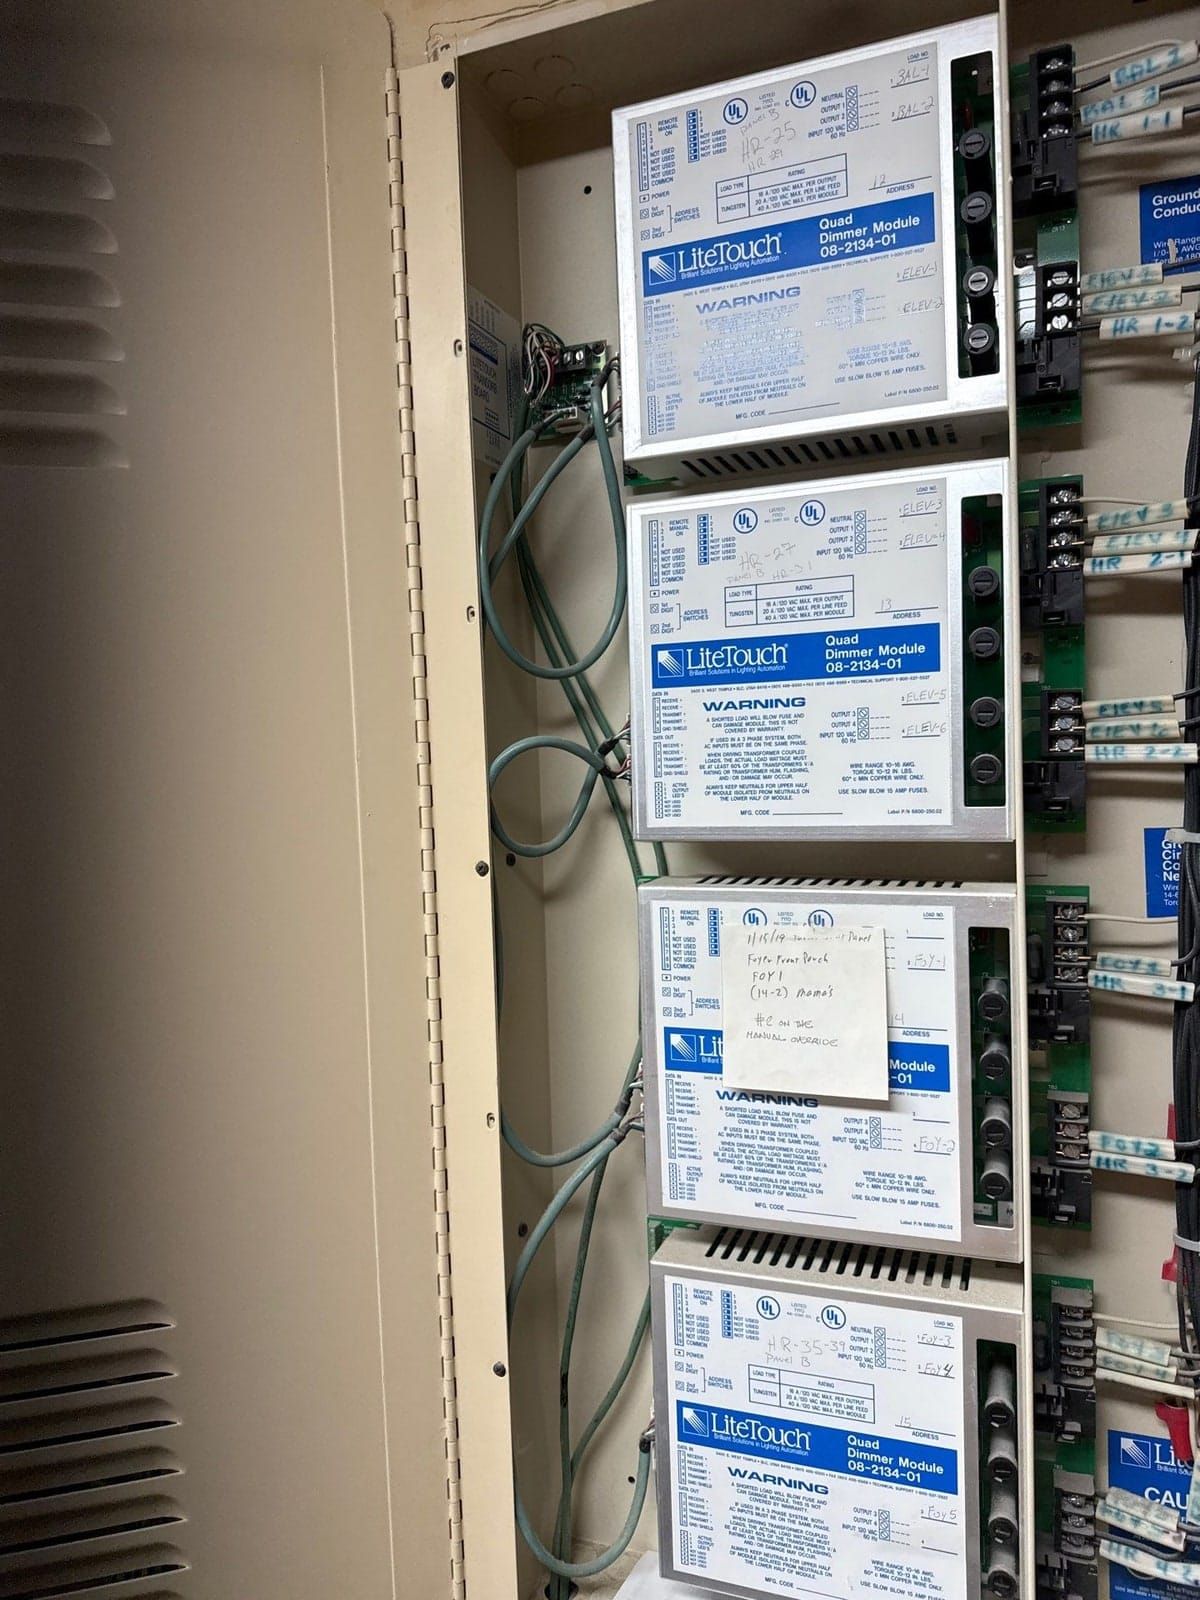
These photos do real work. A LOXONE installer familiar with LiteTouch hardware can often identify module type, output count, and rough circuit capacity from a single clear photo — before ever stepping into your house. That translates into a more accurate estimate on the first call, not just a placeholder number pending a site visit.
If you’re not comfortable opening the enclosure yourself, that’s completely fine — this is standard work during an on-site assessment. Just know that skipping this step means your first quote will carry wider tolerances until the visit happens.
3. List Every Controlled Circuit — and Note Whether It Dims
Walk your home, room by room, and write down every light, outlet, or motorized device that’s connected to a LiteTouch keypad or scene. For each one, note two things:
- Does it dim, or does it just switch on and off? This matters more than it sounds like it should. A dimming circuit needs a dimming-capable replacement output and a compatible fixture; a switched-only circuit needs a simple relay output. Mixing these up in a proposal is one of the most common sources of a quote that changes mid-project.
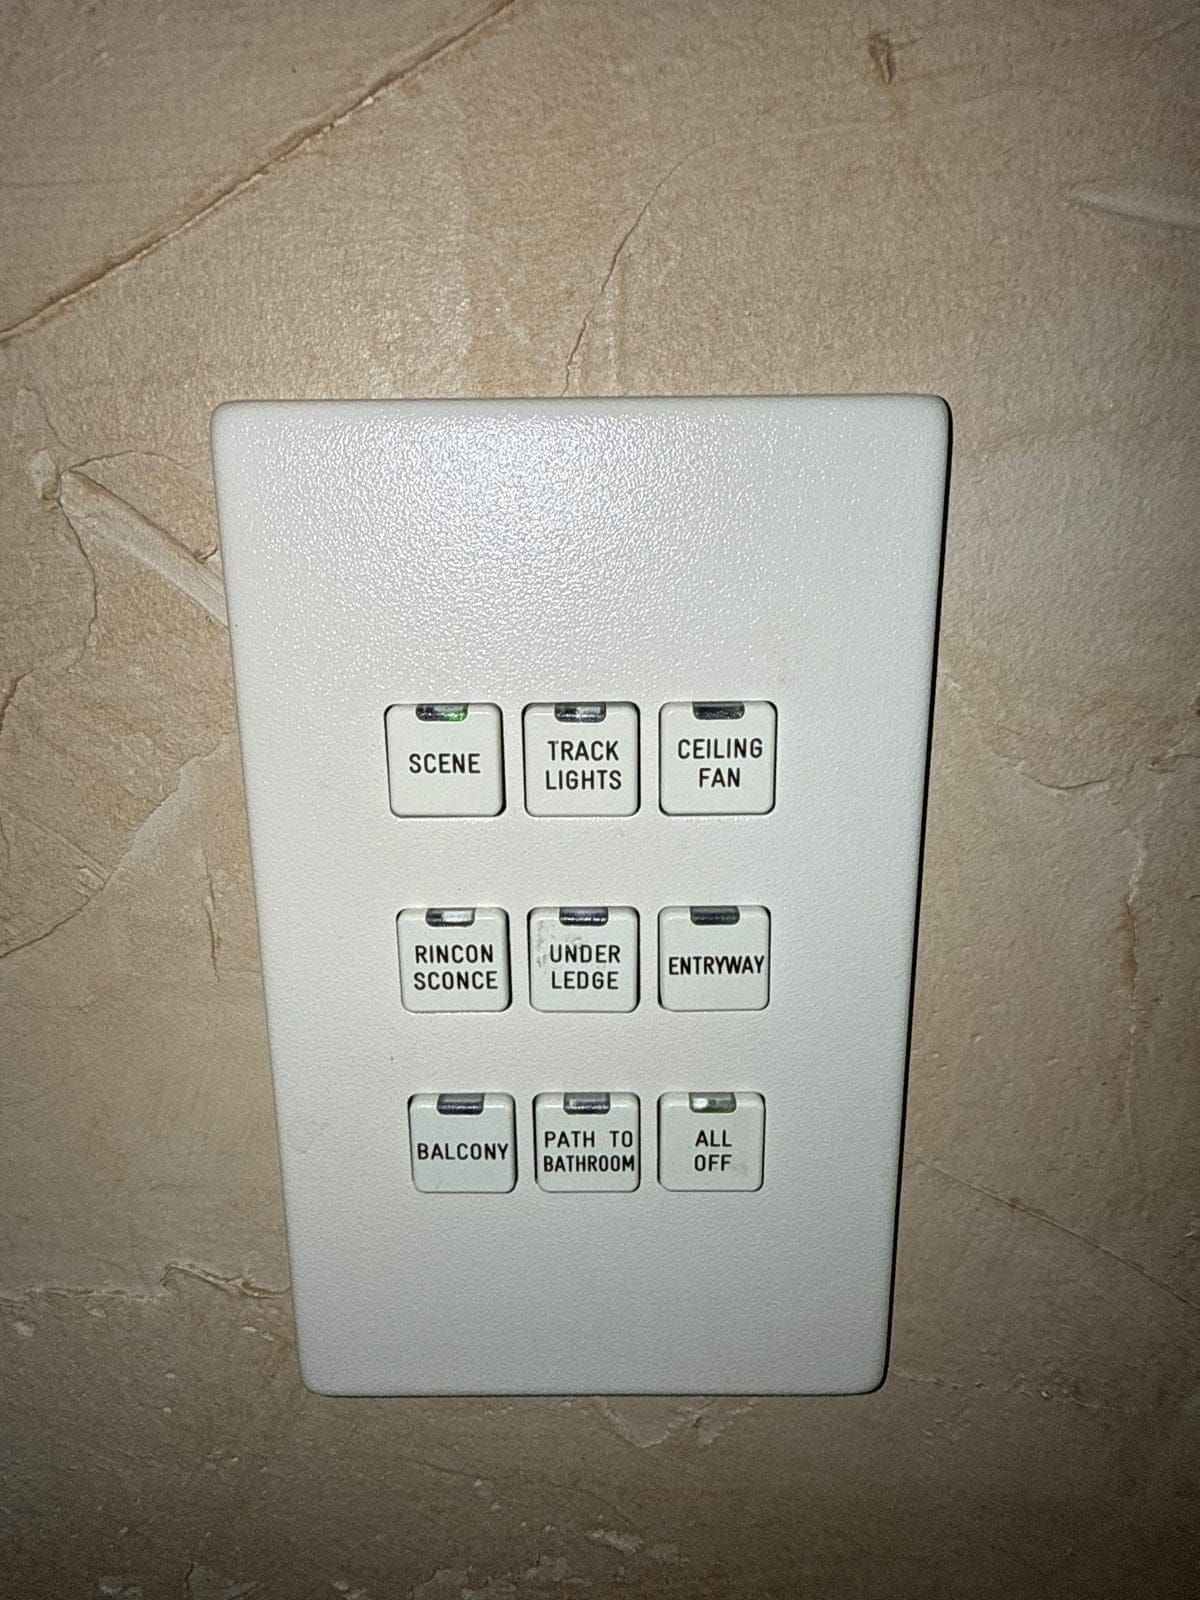
- Is it grouped into a scene with other circuits? LiteTouch scenes — where one keypad button sets multiple circuits to preset levels at once — need to be re-created in whatever system replaces it. A list of which circuits belong to which scenes saves real reprogramming time later.
You don’t need technical precision here. “Kitchen recessed cans, dims, part of the ‘Cooking’ and ‘Entertaining’ scenes” is exactly the kind of note that speeds up an assessment.
4. Understand Your Keypad Wiring — At Least Roughly
Most LiteTouch keypad runs use 3-conductor cable, though 4-conductor is the better-practice wiring and shows up in some installations. In either case, the cable is usually untwisted and unshielded — standard for its era, but worth knowing about ahead of time because it affects which replacement keypad technologies are a drop-in fit versus which need a small amount of rework at the wall box.
You don’t need to identify your exact conductor count yourself — an installer will verify this during the assessment, usually by pulling a single keypad and inspecting the wire nut or terminal connections behind it. But knowing this is a real variable, and not something to assume away, sets realistic expectations before the first visit.
Why This Preparation Matters More for LiteTouch Than for a Newer System
Both LiteTouch and modern panelized platforms like LOXONE are wired, panel-based systems — that shared architecture is precisely why so much of your existing infrastructure is reusable, and it’s the subject of our companion article on how easy the LiteTouch-to-LOXONE transition actually is. But “reusable” only becomes “reused” if an installer can identify what’s actually in the walls and panels. With a currently-supported platform, a manufacturer’s cloud portal or app often has the system’s configuration on file. LiteTouch has no such fallback. Savant stopped supporting the platform in 2015, and there is no central database to pull your system’s history from. The enclosure schedule, the panel photos, and your own notes are the only documentation that exists for most installations at this point.
If none of it is available — and for a lot of homes, none of it is — the alternative is straightforward but time-consuming: physically tracing every output from the panel to the fixture it controls, confirming load type, and building the documentation from scratch. It’s honest work, and it’s often the single largest variable in how long an assessment takes. We’d rather tell you that upfront than have it surprise you at the first site visit.
Can a LiteTouch Replacement Be Done in Phases?
Depending on your wiring, we may be able to phase the work by zone, with lighting controlled from the LOXONE app while keypads are being connected.
What Happens After You’ve Gathered This
Once you’ve pulled together whatever combination of documents, photos, and notes you can, the next step is an on-site assessment where an installer verifies everything in person, confirms wiring condition, and puts together a written proposal. For a full walkthrough of what that process looks like — cost ranges, timeline, and what a LOXONE replacement specifically reuses from your existing LiteTouch infrastructure — see our Complete Guide to Replacing Your LiteTouch System. If you want a broader look at how LiteTouch stacks up against modern platforms before committing to a direction, our LOXONE vs. LiteTouch comparison covers that in more detail, and our short history of what happened to LiteTouch explains why this preparation is necessary in the first place.
Ready for Your LiteTouch Assessment?
Schedule a Free LiteTouch Assessment — bring whatever documentation and photos you have, and we’ll fill in the rest on-site. Grizzly Tec has been a Loxone Partner since 2015 (Platinum today) and holds Texas security license #B-29733501, serving Spring, TX and the greater Houston area.
Ready to discuss your smart home project?
Book a free consultation — we'll discuss your goals and outline options.
Book a Free ConsultationShare this article

Founder & Mechatronics Engineer
Daniel Lopez founded Grizzly Tec in 2012 and has designed and installed 1,000+ projects (audio, video, networking, security and automation), including 50+ LOXONE projects. A mechatronics engineer by training, he holds a Texas security license (B-29733501) and has been a LOXONE Partner since 2015 and a Platinum Partner today.